Building an Intel NUC HTPC with Kodi
Being the movie junkie that I am, I’ve wanted to build my own Home Theater PC (HTPC) for quite some time. This past Black Friday I saw a great Intel NUC combo deal on Newegg so I decided to give it a try. In this post I will show you how to assemble an Intel NUC5CPYH, how to install OpenELEC, and how to configure it so that you can get the best out of your HTPC.
Hardware and Software Considerations
The first thing to consider when building your own HTPC is choosing the right hardware and software. Knowing the features you want will greatly help in this process. In my case I wanted my HTPC to perform the following tasks:
- Playing and streaming video.
- Playing and streaming music.
- Displaying photos in high-quality format.
I also wanted my system to be low-power, with a small form factor, quiet, and affordable (under $200). These requirements made the Intel NUC mini PC an ideal candidate for this build. At first, I wasn’t sure which version to buy until I came across a very attractive deal on Newegg that included the following components:
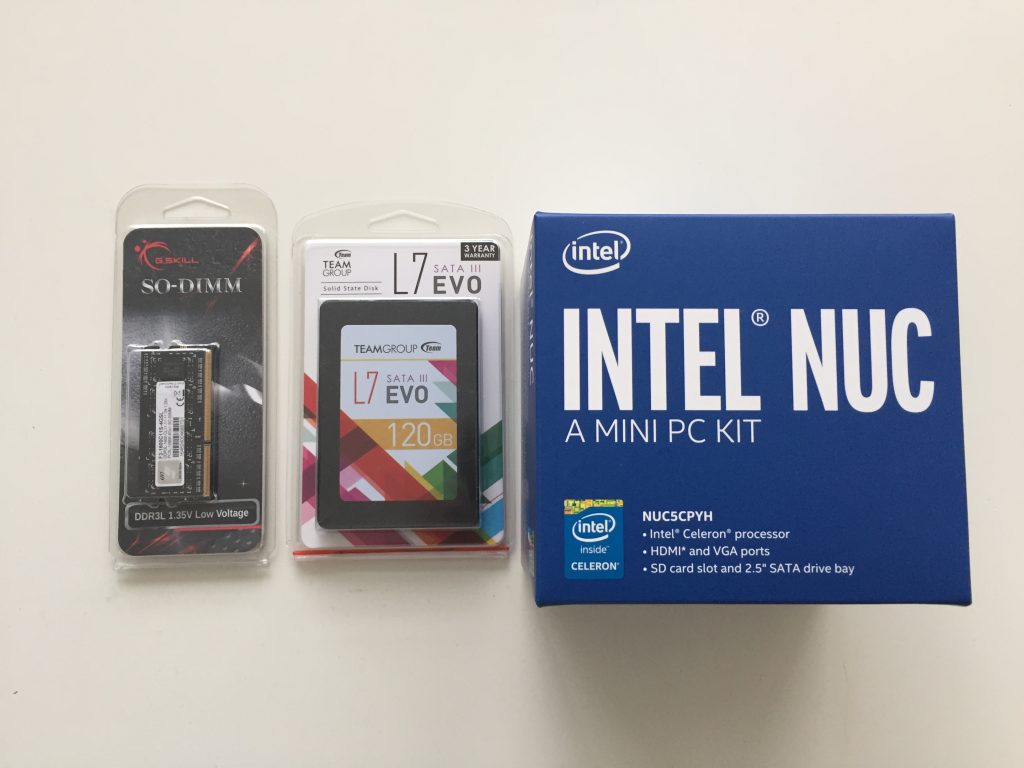
- Intel NUC5CPYH ($124.99)
- Team Group L7 EVO 120GB SSD ($44.99)
- G.SKILL 4GB DDR3 RAM ($23.99)
*Note: these are the individual prices at the time of writing (total price is $193.97). I bought all the components as part of a Newegg combo deal for only $150.98. That combo is no longer available but you can drive down the price by choosing a cheaper SSD and/or RAM.
Then, it was time to choose the software. Like most HTPC fans I was debating between Plex and Kodi. The decision usually comes down to personal preference. I decided to go with Kodi for two main reasons: it is free and open-source.
You can install Kodi on all major platforms (Windows, Mac, and Linux). However, the people at OpenELEC have design a minimal OS that was originally designed with one task in mind: to run Kodi. OpenELEC is Linux-based, which might shy away some people, but the installation and configuration process is pretty straight forward as you’ll see later.
Assembling the Intel NUC5CPYH
The Intel NUC is a barebone mini PC. It comes without memory and storage media. This is what the combo looked when it arrived at my home:
Installing the memory and SSD is extremely simple. First, you have to pull the bottom cover out.
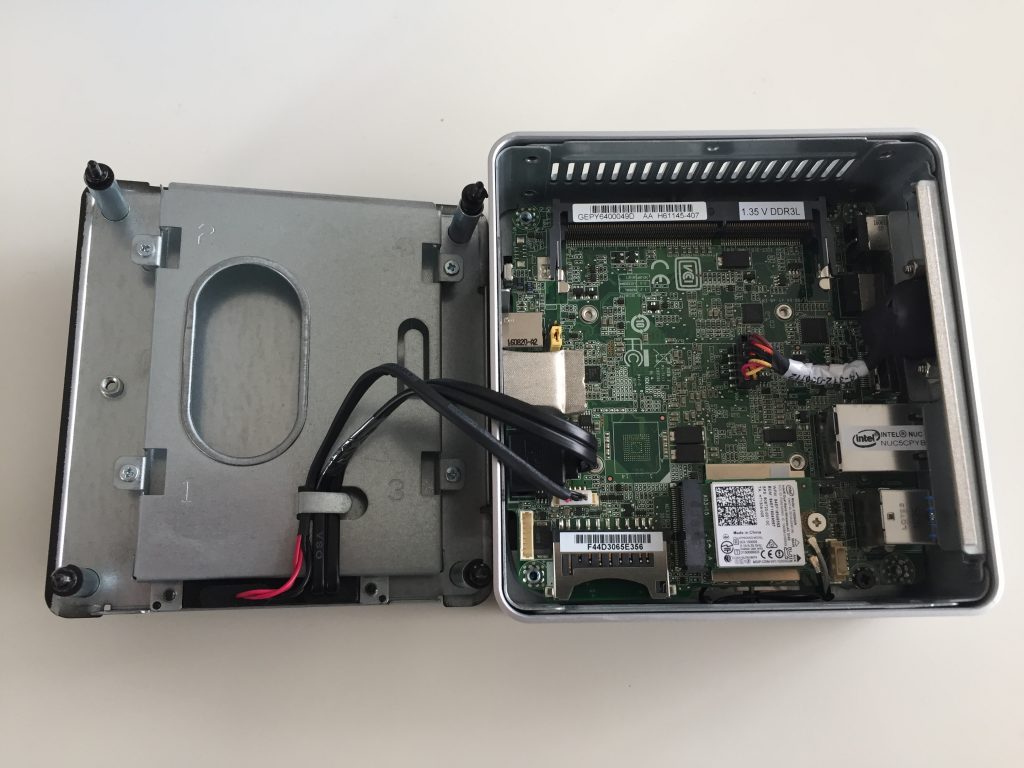
Then, you install the RAM in the memory slot, and the SSD in the 2.5” drive bay.
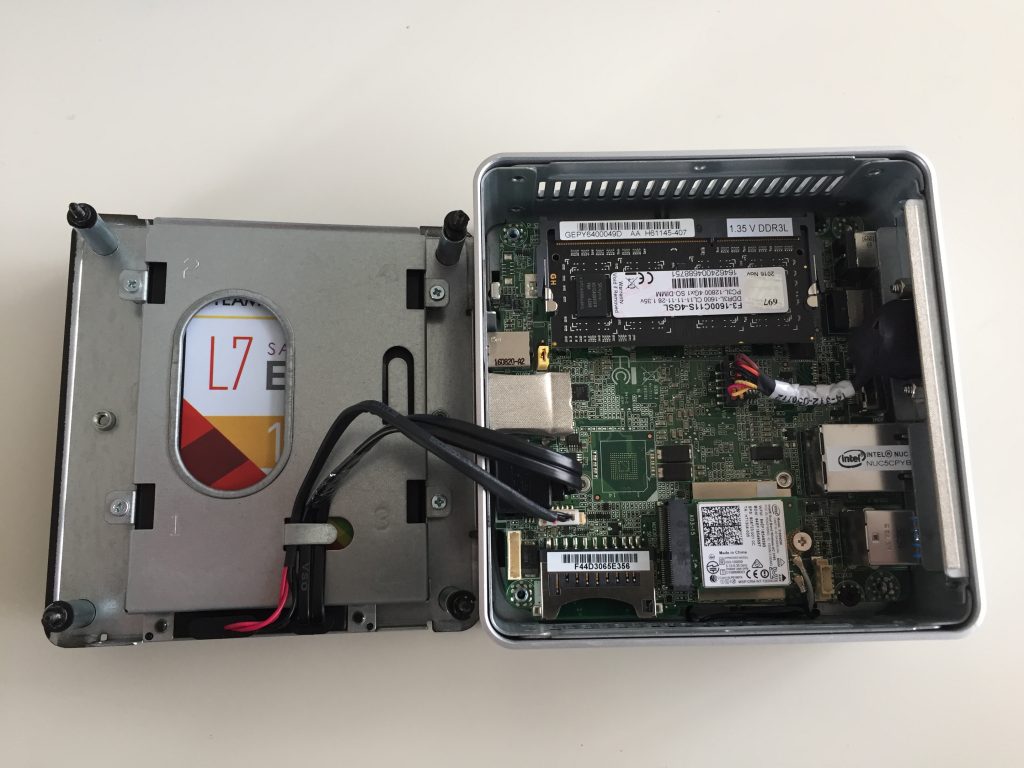
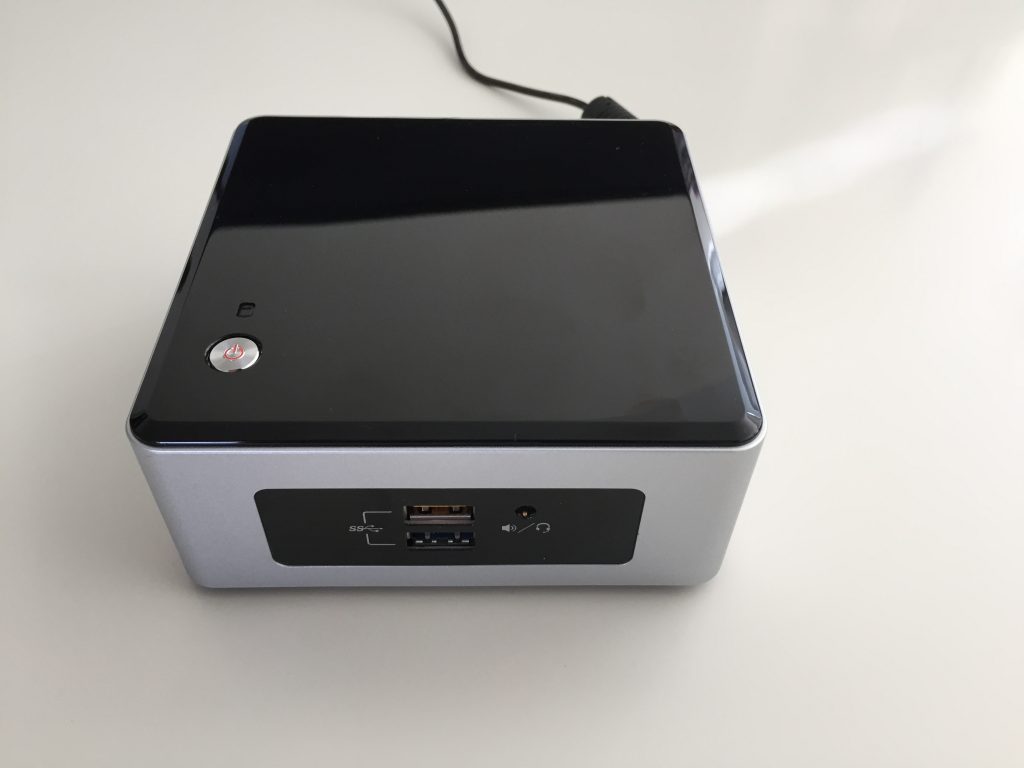
Screw the cover back in, and that’s it! This is what the assembled PC looks like:
Before attempting to install any operating system, it’s always a good idea to update the BIOS to the latest version available to make sure you hardware works as expected. I won’t cover this process in this post mainly because it’s well explained in this Intel page.
Installing OpenELEC
Installing OpenELEC was easier than I expected:
- Download the latest OpenELEC version from this website. I used the x86 Generic build version 6.0.3.
- You need to create a bootable USB form the image file. This process is well documented in the OpenELEC wiki pages. On Mac you need to run some commands from a terminal. This is the output from my machine:
$ diskutil list | grep -v disk0 | tail +2 /dev/disk1 (internal, virtual): #: TYPE NAME SIZE IDENTIFIER 0: Apple\_HFS Macintosh HD +120.1 GB disk1 5C0FD5E8-D0D4-4F71-83DB-D28077D98936 Unlocked Encrypted /dev/disk2 (disk image): #: TYPE NAME SIZE IDENTIFIER 0: Apple\_partition\_scheme +2.5 GB disk2 1: Apple\_partition\_map 32.3 KB disk2s1 2: Apple\_HFS lcthw 2.5 GB disk2s2 /dev/disk3 (external, physical): #: TYPE NAME SIZE IDENTIFIER 0: FDisk\_partition\_scheme \*2.0 GB disk3 1: DOS\_FAT\_32 PENDRIVE 2.0 GB disk3s1 $ diskutil unmountDisk /dev/disk3 disk3 disk3s1 $ diskutil unmountDisk /dev/disk3 Unmount of all volumes on disk3 was successful $ sudo dd if=/dev/zero of=/dev/rdisk rdisk0 rdisk0s2 rdisk1 rdisk2s1 rdisk3 rdisk0s1 rdisk0s3 rdisk2 rdisk2s2 rdisk3s1 $ sudo dd if=/dev/zero of=/dev/rdisk3 bs=1024 count=1 Password: 1+0 records in 1+0 records out 1024 bytes transferred in 0.001571 secs (651839 bytes/sec) $ sudo dd if=OpenELEC-Generic.x86\_64-6.0.3.img of=/dev/rdisk3 bs=4m 137+0 records in 137+0 records out 574619648 bytes transferred in 329.698801 secs (1742862 bytes/sec) - Connect you Intel NUC to a monitor or TV, and plug-in a usb keyboard, and mouse. Insert the USB stick, power up the device and press F10 to select your USB as the bootable media.
- You should get prompted with the OpenELEC installation screen. Select “Quick Install of OpenELEC”. The installation should take a couple of minutes.
Once the installation is done you can unplug the USB stick and reboot the device. This time the OS will boot from your SSD and you should get prompted with the OpenELEC configuration wizard.
Configuring OpenELEC
Once the configuration wizard pops up, you will be prompted to choose a name for your device, network, and sharing and remote access options.
I would recommend changing the following settings as well:
*Note: you might have to change the settings level to Expert to see some of these settings.
- Go to System > Settings > Appearance > International and select your Timezone Country and Timezone.
- Go to Systems > OpenELEC > System and enable automatic updates.
- Go to System > Settings > Video and choose the following playback and acceleration options:
Video – Playback – Adjust display refresh rate: On start/stop
Video – Playback – Sync playback to display: Enabled
Video – Acceleration – Render method: Auto detect
Video – Acceleration – Enable HQ scalers for scalings above: 20%
Video – Acceleration – Allow hardware acceleration – VDPAU: Disabled
Video – Acceleration – Allow hardware acceleration – VAAPI: Enabled
Video – Acceleration – Use Mpeg-2 VAAPI: Enabled
Video – Acceleration – Use Mpeg-4 VAAPI: Enabled
Video – Acceleration – Use VC-1 VAAPI: Enabled
Video – Acceleration – Prefer VAAPI render method: Enabled - Go to Systems > OpenELEC > Network and assigned your device a static IP address (this will come in handy when you need to connect to your HTPC remotely), DNS server, and NTP servers (I used the NIST NTP servers).
Security Considerations
It is always a good practice to change the default passwords of any internet connected device. The two main passwords used to connect to a device running OpenELEC are the web interface password, and the SSH password.
Go to Settings > Services > Web server and update the default username and password. This credentials will be used to connect to your HTPC remotely using the HTTP protocol. Most Kodi Remote Control applications use this interface (more about remote controllers later).
The other service that is used for managing your HTPC remotely is SSH. Unless you build OpenELEC from the source code your OS will come preconfigured with a hardcoded password for the root account (the default password is “openelec”). This means that you cannot change the root password! I know what you are thinking. I also kind of panicked when I realized this but there is a solution that doesn’t involved compiling the OS yourself.
For users with limited Linux experience I recommend disabling SSH altogether (System > OpenELEC > Services > Enable SSH). However, if you want to be able to connect to your HTPC via SSH I recommend generating an SSH public/private key pair, install your public key in the HTPC box, and then disable SSH password logins (System > OpenELEC > Services > Disable SSH passwords). This way, only users in possession of the SSH private key can connect to the box. You can read more about configuring SSH in this post.
Using a Smart Phone or Tablet as Remote Controller
Last by not least, any proper HTPC system needs a remote controller. Here the options are innumerable but unless you want to spend more money on a fancy remote like the Logitech Harmony One I would recommend using one of the many iOS and Android apps out there (here is a list of apps for both platforms). I chose the Sybu Kodi app for iOS. I installed it on both my iPad and iPhone devices and it works like a charm. After installing the app you’ll need to configure th app with your HTPC IP address (this is why you should use a static IP) and your web interface credentials.
Now you can start playing with Kodi add-ons, different skins, advance settings, import your media library, etc…
Check out the Kodi Wiki and OpenELEC Wiki pages for more information on these topics.
Enjoy your shiny new HTPC system!