Network Security - Part 4: Host Firewalls
So you spent thousands of dollars on a next-gen firewall.That means you are secure, right? Even though it is obvious that the answer to this question is no, many people believed otherwise not that long ago. Just because you spend money on security doesn’t mean that you’ll be secure. Network firewalls provide one layer of protection for your environment but they can be bypassed by experienced attackers, specially if the firewall is not configured properly. In fact, it’s not a matter of “if”, it’s a matter of “when”. What will you do when an attacker bypasses your firewall and compromises one of your endpoints?
A common technique attackers use after penetrating a network is called lateral movement. This technique allows attackers to propagate across multiple hosts that are co-located in the same subnet. For example, in a Windows environment, an attacker can start by compromising a user endpoint and then pivot laterally until it reaches a Domain Controller, giving them a stronger position to take over privilege accounts or exfiltrate data.
In this post, we will take a look at host-based firewalls and learn how they can be used to protect against lateral movement.
Host Firewalls with IPTables
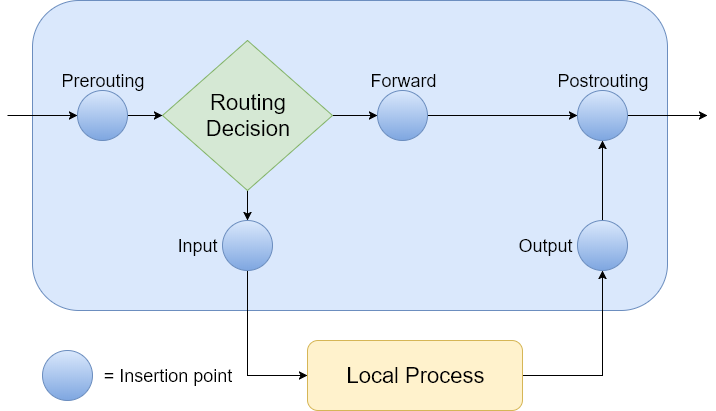
IPTables is a command-line tool that allows you to configure the rules provided by the Linux kernel firewall, also known as Netfilter. Netfilter is implemented as a series of hooks (usually called insertion points or chains) that get invoked at different times throughout the Linux networking stack:
- Pre-routing: called when incoming packets arrive at the system but before routing decisions are made.
- Local Input: called after routing, but only if the packet is destined for a process running on the local computer.
- Forward: called when the packet is determined to be sent to another interface, or forwarded.
- Local Output: called when the packet comes from the local server, but it’s destined for another system.
- Post-routing: called for all packets leaving the computer, regardless of destination.

As you can probably guess, we are going to configure some of this insertion points to discard unwanted packets arriving at our web server. In particular, we are going to focus on these three chains:
- Forward: we are going disable forwarding completely.
- Output: allow all outgoing traffic.
- Input:
- Accept HTTP traffic from any network.
- Accept SSH traffic only from the hypervisor host.
With these rules in place, even if attackers compromise a user endpoint they will have a hard time trying to reach our web server.
IPTables Rules
Let’s jump right into IPTables and start creating rules for our web server.
SSH into nslWebServer (172.16.2.2) and run the following command to display the existing rules:
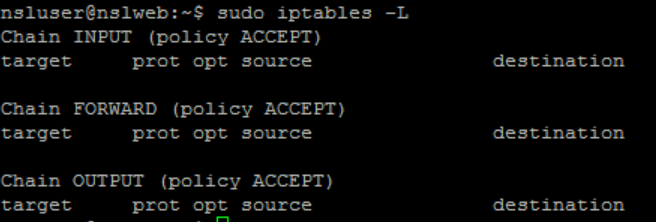
sudo iptables -L
All three chains should be empty at this point:

Run the following command to add a rule that allows SSH access from the management host:
sudo iptables -A INPUT -p tcp --dport 22 -s 172.16.1.2 -j ACCEPT
*Note: creating this rule first ensures that SSH is always available even if we mess up the other rules.
Let’s break down the command:

It is usually a good idea to explicitly allow traffic on the loopback interface, especially if your web server needs to connect to services (e.g. databases, etc…) listening on “localhost”:
sudo iptables -I INPUT -i lo -j ACCEPT
Notice that in this case we used “-I INPUT” to insert the rule at the beginning of the chain rather than at the end (“-A” appends the rule at the end), and “-i lo” to specify the input interface instead of a single source address.
Don’t forget that we want users to connect to our web server running on port 80. Let’s create a rule to allow incoming HTTP traffic:
sudo iptables -A INPUT -p tcp --dport 80 -j ACCEPT
IPTables policies define the default behavior when the incoming packet doesn’t match any rule. By default, all policies are set to ACCEPT, but fortunately you can run the following commands to update them:
sudo iptables -P OUTPUT ACCEPT sudo iptables -P INPUT DROP sudo iptables -P FORWARD DROP
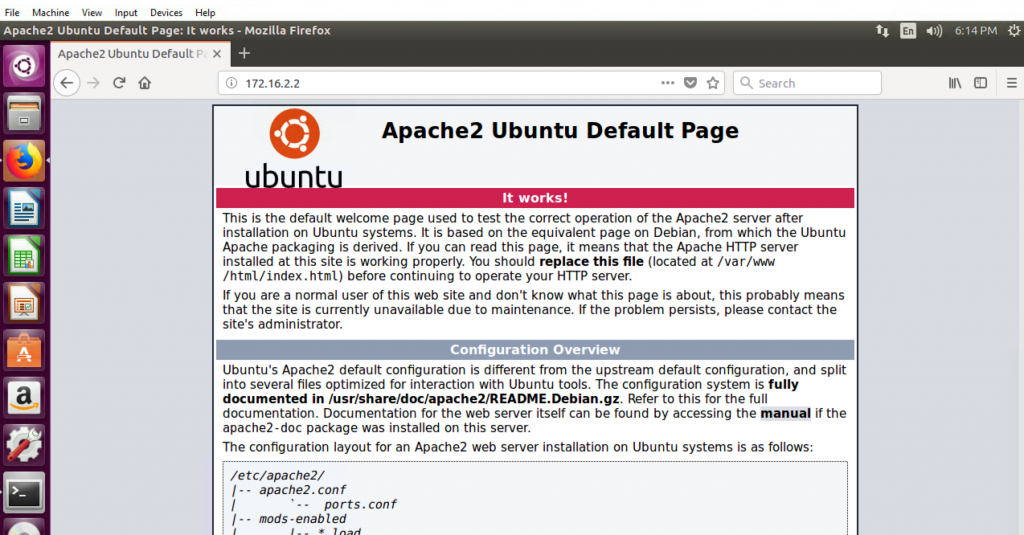
We can validate our rules at this point by logging into our nslClient VM and making sure that we can still connect to the web server’s internal address (http://172.16.2.2:80):

Now, go back to the nslWebServer VM and run the following command:
curl http://www.google.com
Hhmm…the commands seem to hang until the request times out. Can you guess why?
The problem is that IPTables is blocking response packets coming from the outside. Here is how it works: the curl command sends packets to www.google.com and expects a response packet back. However, this response is getting blocked by the host firewall.
Rest assured, we just need to explicitly allow response packets by adding the following rule:
sudo iptables -A INPUT -m state --state ESTABLISHED,RELATED -j ACCEPT
The -m flag stands for match, which allows IPTables to match packets based on the connection state (–state). This rule will accept incoming packets that are part of an ESTABLISHED or RELATED connection. RELATED is a connection type within IPTables that matches new connections that are related to already established connections.
You should now be able to connect to the internet and everything should be working as expected. Display the IPTables again to verify it contents:

Persist Rules
By default, IPTables are flushed (removed) with every server restart. There are different ways you can persist IPTables rules. We are going to create a simple Bash script and use the Linux crontab to execute the script at boot time.
Log into nslWebServer and create a file containing all our IPTables commands:
#!/bin/sh
IPT=/sbin/iptables

# flush tables
$IPT -F
# policies
$IPT -P OUTPUT ACCEPT
$IPT -P INPUT DROP
$IPT -P FORWARD DROP

# allowed inputs
$IPT -A INPUT -i lo -j ACCEPT
$IPT -A INPUT -p tcp --dport 22 -s 172.16.1.2 -j ACCEPT
$IPT -A INPUT -p tcp --dport 80 -j ACCEPT

#allow responses
$IPT -A INPUT -m state --state ESTABLISHED,RELATED -j ACCEPT
Run the following command to open the crontab editor:
sudo crontab -e
Add the following line at the end of the crontab file:
@reboot /opt/set-iptables.sh
*Note: replace _/opt/set-iptables.sh _with your own script.
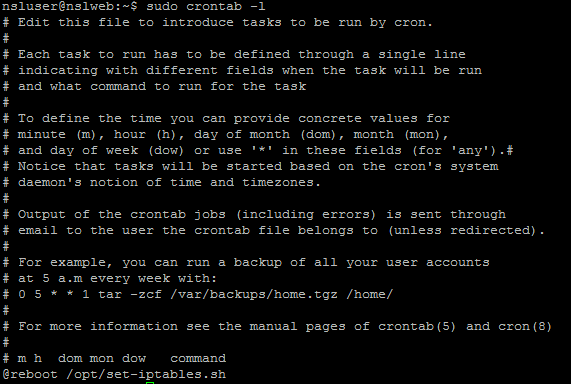
You can run the following command to display the crontab configuration:
sudo crontab -l

Restart the server and verify that the IPTables rules didn’t get removed.
That’s it for today
IPTables is a very powerful tool and there is much more you can do with it. Go ahead and create your own rules!
Finally, I would like to mention that modern Windows Operating Systems come with Windows Firewall enabled by default. Windows Firewall is very easy to configure and it can greatly improve your defenses and protect against lateral movement as well.