Network Security - Part 2: Network Services
In part 1 of this series we created the environment that we will be using in future posts. At the core of the network architecture is our pfSense router. Before we can start exploring all the security features that pfSense provides we need to configure some basic network services for our LAN (management) and OPT1 (internal) networks.
DNS
The main purpose of the Domain Name System (DNS) protocol is to resolve human-readable host names to IP addresses.
pfSense comes pre-installed with Unbound, which is an open source DNS resolver. We are going to configure this DNS resolver to listen on both internal interfaces (LAN and OPT1) for DNS queries. These queries will then be forwarded to the upstream DNS servers defined under System > General Setup:
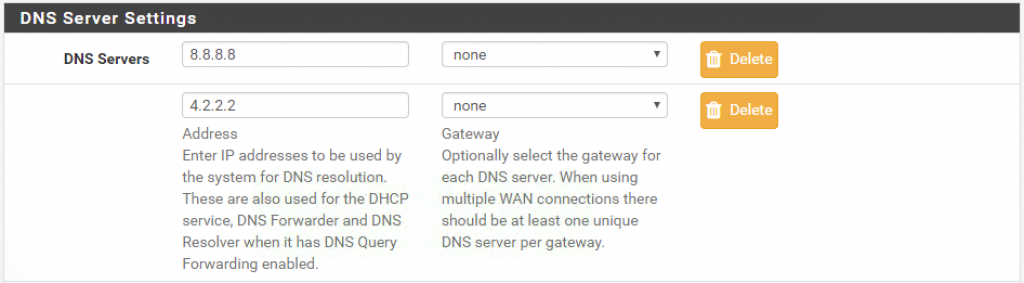
In my case, I am using Google’s DNS as the primary server, and Layer3’s DNS as secondary.
Then go to Services > DNS Resolver and select LAN, OPT1, and Localhost as the network interfaces the DNS resolver should listen on:

And select WAN as the outgoing network interface (i.e. interface the resolver should use to forward queries to the authoritative servers):

Save you changes.
NTP
We also want pfSense to act as the Network Time Protocol server for our network. Having all the VMs in sync is critical if you want to do any kind of network traffic analysis or correlate events from multiple sources.
pfSense keeps its own clock in sync against remote NTP servers, acting as an NTP client itself. Go to Services > NTP to enable the NTP server for both internal interfaces and configure the upstream NTP server pool:
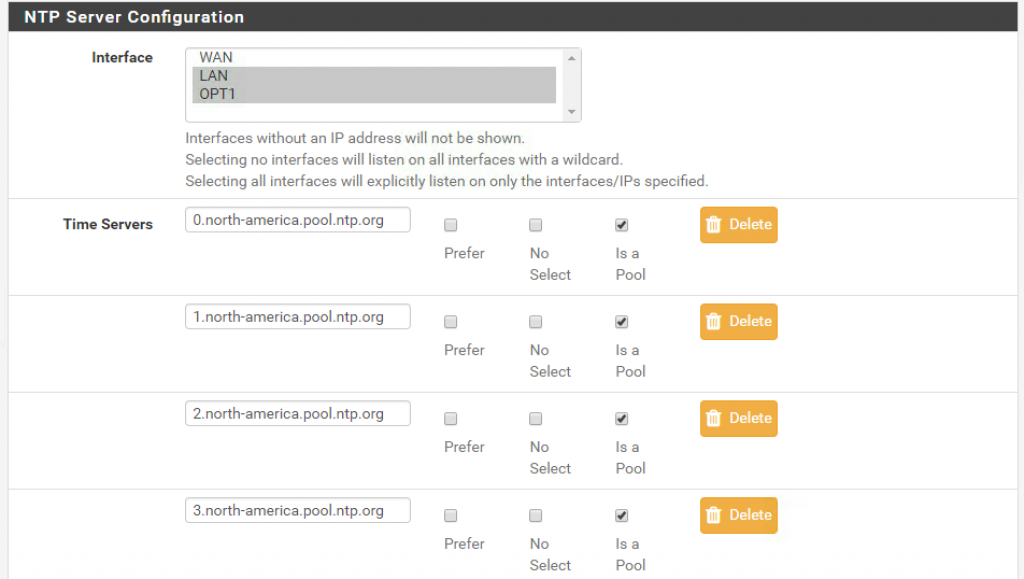
I typically use the NTP servers from the NTP pool project.
Save your changes.
DHCP
The Dynamic Host Configuration Protocol automatically provides IP addresses and other related configuration information such as DNS and NTP settings to clients connected to the network.
By default, the pfSense DHCP server will select one IP address from the pool and assign it to the client making the DHCP request. This is fine for devices that do not need a static IP address such as our nslClient VM. However, DHCP also supports static IP mappings based on the client’s MAC address. We will use this option to assign static IPs to our web and monitoring servers.
Go to Service > DHCP Server > LAN to enable the DHCP server for the LAN interface:

Configure the range of IP address leaving a few of them out of the range so that they can be used for static mappings:

Do not specify any DNS servers. By default, pfSense will use the interface’s IP (172.16.1.1) if the DNS Resolver is enabled.
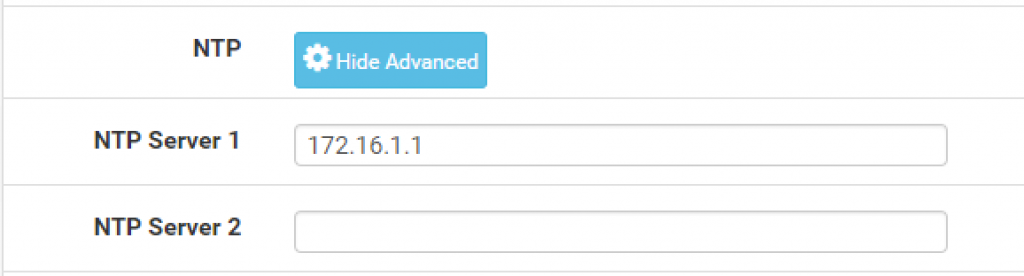
Enter the interface’s IP address as the NTP server:
Finally, add a static mapping for the monitoring server (nslMonServer):

Save your changes.
Go to Service > DHCP Server > OPT1 to enable the DHCP server for the OPT1 interface. Configure 172.16.2.12 - 172.16.2.254 as the IP range, and 172.16.2.1 as the NTP server.
We need two static mappings for the OPT1 interface. One for the monitoring server, and another one for the web server:

Save your changes.
Kicking the Tires
All our client VMs are running Ubuntu so we can use the same commands to validate our network settings.
By default, there are no firewall rules configured for the OPT1 interfaces, which will prevent our VMs from connecting to pfSense.
Go to Firewall > Rules > OPT1 and add the following rule:
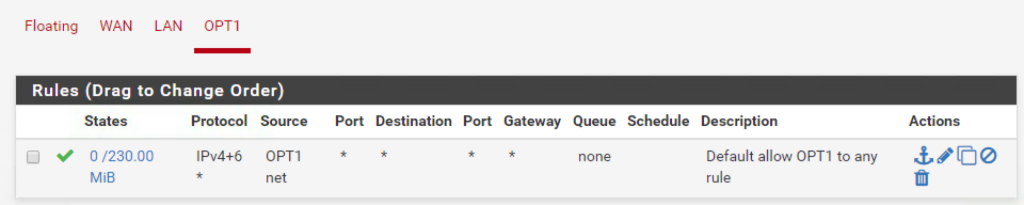
This rule will allow any VM on the OPT 1 to connect to any destination which is not very secure. Firewall rules will be the topic of my next post so we can ignore this for now.
SSH into each VM and run the following command to force the machine to send a new DHCP request to the gateway:
sudo dhclient
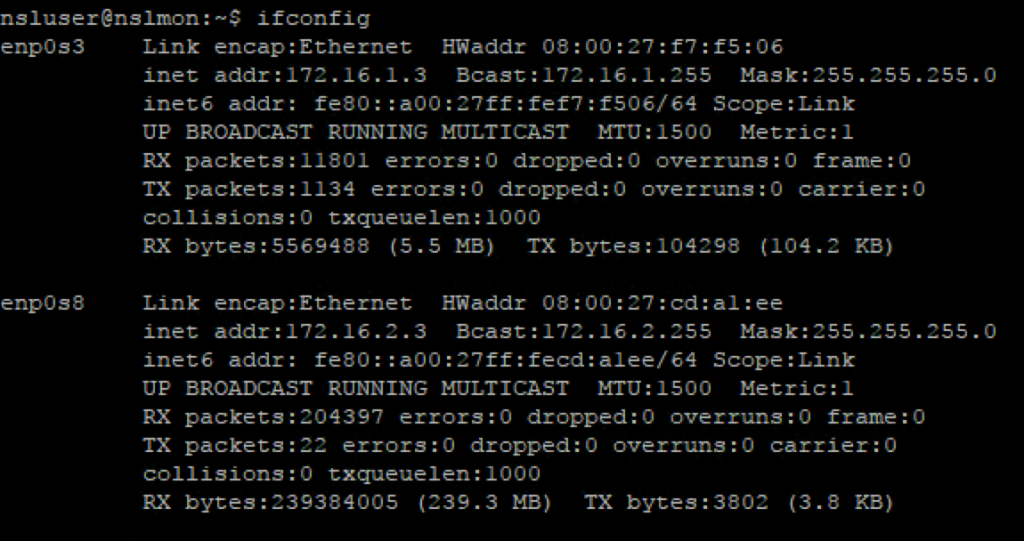
Run “ifconfig” to make sure the network interface(s) is configured with a valid IP address:
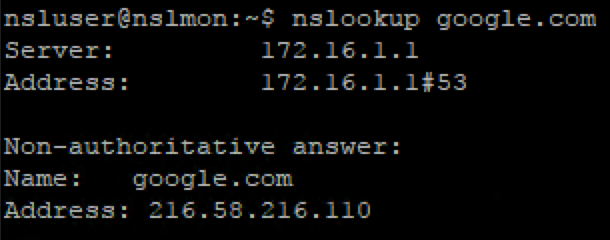
Use nslookup to test the DNS configuration (make sure the query is sent to the pfSense address):
Finally, use systemd to verify the time sync settings:
systemctl status systemd-timesyncd
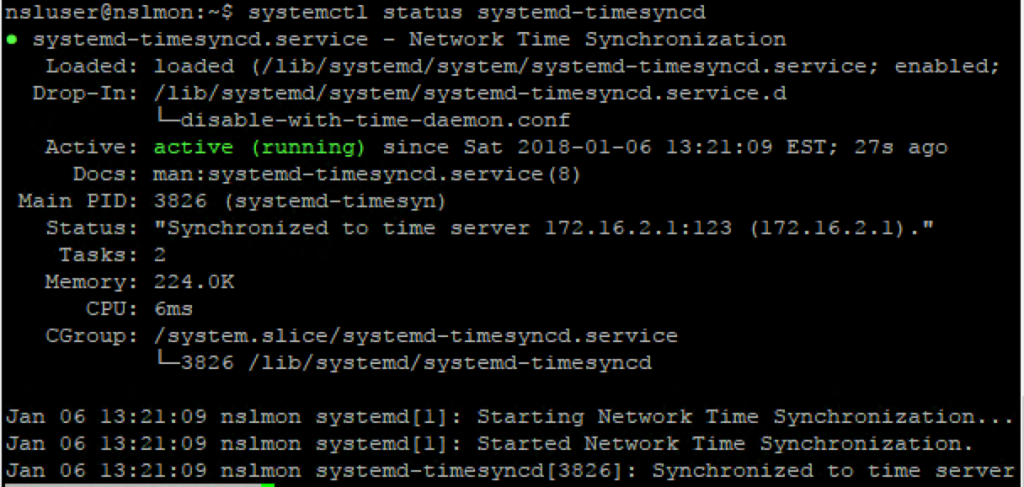
If the output doesn’t show a message like “Synchronized to time server <pfSense IP>:123” you might have to restart the timesync service first:
sudo systemctl restart systemd-timesyncd
This post should end all the prep work required to configure our environment. In my next post I will talk about firewall rules and network segmentation.
See you next time!